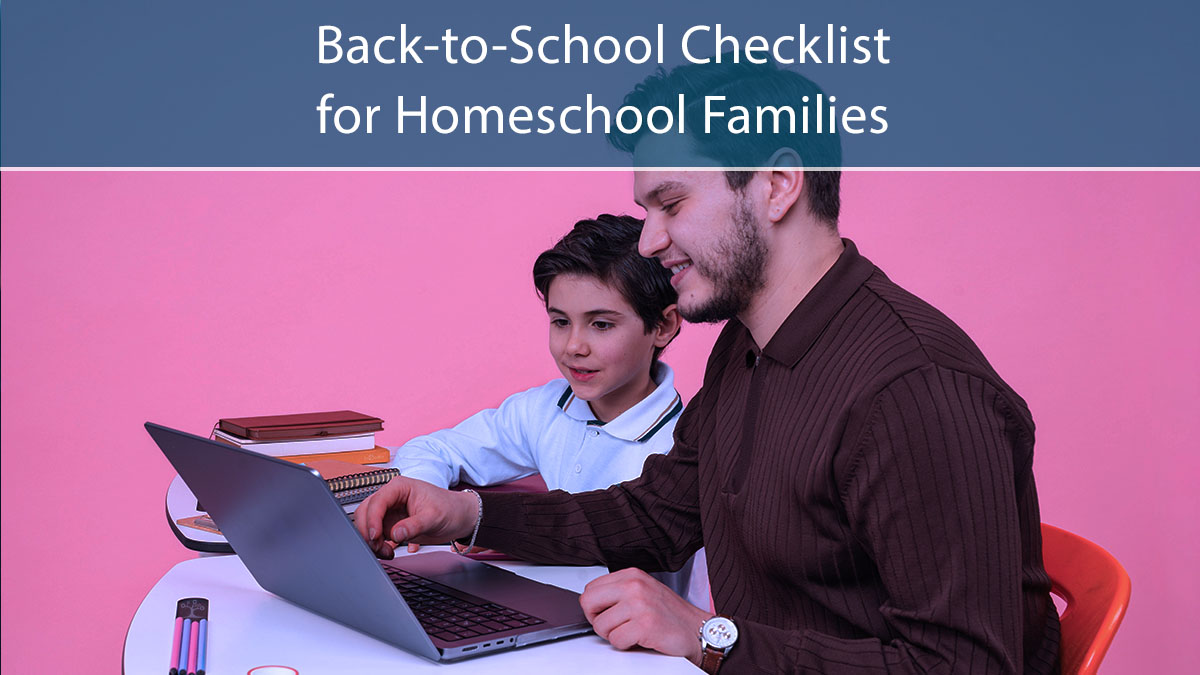
New homeschool year, same familiar feeling: a mix of excitement and “wait, did I forget something?” Between choosing classes, meeting with your Homeschool Teacher, and figuring out a schedule that actually works, it is easy for small details to slip through the cracks. This checklist walks you through every step, in order, so your family starts the year organized and confident.
Why a Back-to-School Checklist Matters for Homeschool Families
Homeschool families have more moving parts to manage than a traditional classroom family. You are selecting vendor classes, coordinating with your Homeschool Teacher (HST), building a schedule around live classes and independent work, and making sure enrollment is finalized before deadlines pass.
None of that is complicated on its own. But without a clear order of operations, it is easy to miss a date or make decisions out of sequence. A checklist keeps things simple: one step leads naturally into the next, and by the time live classes begin, your family already knows exactly what the year looks like.
Step 1: Mark Your Key Enrollment Dates
Start here. Every other step on this list depends on knowing when things open and when they begin.
- July 6: Course enrollment opened
- August 12: Tutoring enrollment opened
- August 18: Orientation
- August 24: Live classes begin
- August 31: Tutoring begins
Put these dates somewhere visible, whether that is a family calendar, a whiteboard, or a reminder on your phone. Course spots in popular subjects and time slots tend to fill quickly, so enrolling as soon as the window opens gives your student the best shot at their preferred schedule.
Step 2: Meet with Your Homeschool Teacher (HST)
Your HST is your partner in planning the year, and this meeting is where the real planning begins. Come prepared with a rough sense of what your student needs: which subjects require more support, which ones they are ready to take on independently, and any electives they are excited about.
A few questions worth bringing to this meeting:
- How many vendor classes make sense for my student’s grade level and workload?
- What does a balanced mix of live classes, tutoring, and independent study look like for us?
- Are there specific graduation or grade-level requirements I should keep in mind?
Your HST has seen a wide range of family setups and can help you avoid overloading (or underloading) your student’s schedule before it is locked in.
Step 3: Choose Your Vendor Classes
Once you have a general plan from your HST meeting, it is time to choose actual classes. This is where live online instruction makes a real difference. Instead of working through a self-paced program alone, students in Branches Learning classes learn directly from a teacher in real time, alongside classmates, in small class sizes that allow for genuine interaction and feedback.
Browse the full course catalog to see what is available across TK-12 subjects and electives.
Step 4: Build Your Student’s Schedule
With classes selected, map out the actual week. Live classes have set meeting times, so those go on the calendar first. Build independent work, tutoring sessions, and breaks around them.
A few practical tips:
- Group live classes at similar times of day when possible, so your student’s routine stays consistent.
- Leave buffer time between classes for a quick break, not just a hard transition.
- Block dedicated time for independent work rather than treating it as “whatever is left over.”
If you want a head start, our sample schedules by grade level post offers ready-made frameworks you can adjust to fit your family.
Step 5: Set Up Your Home Learning Space
This step does not need to be elaborate, but it does need to be intentional. A consistent, distraction-free spot helps students shift into “class mode” for live sessions.
Before the first live class, run through a quick tech check:
- Confirm your device is charged and updated
- Test your headphones or microphone
- Check that your internet connection is stable enough for video
Handling this before the first week of live classes means your student can focus on the lesson, not on troubleshooting.
Step 6: Gather Supplies and Materials
Basic school supplies (notebooks, pencils, a folder or binder for each subject) cover most of what your student will need day-to-day. Beyond that, some courses may require specific materials, such as a particular workbook, lab supplies, or art materials.
Check the syllabus or course description for each class your student is enrolled in to confirm exact requirements. Gathering these ahead of time means your student is not scrambling to find a missing item once live classes are already underway.
Step 7: Submit Courses to Your School’s Ordering System
Once you have chosen your classes, enrollment is finalized through your school’s ordering system. This is the step that actually secures your student’s spot, so it should not be left until the last minute, especially for classes that tend to fill up early.
Double-check that each course you intended to add has gone through successfully, and keep any confirmation details for your records.
Step 8: Attend Orientation
Orientation on August 18 is where a lot of the year’s logistics come together. It is a chance to hear directly about what to expect from live classes, ask any lingering questions, and make sure your family feels ready before the first day.
Even if you feel fully prepared already, attending orientation often surfaces small details you would not have thought to ask about on your own.
Working through these eight steps in order takes the guesswork out of the back-to-school season. By the time August 24 arrives, your student will already know their schedule, their teachers, and what to expect, which makes for a much stronger start than trying to figure it all out the first week.
If you have not yet explored what is available for the upcoming year, take a look at the full course catalog to start building your student’s schedule.
Frequently Asked Questions
When does course enrollment open for the upcoming year? Course enrollment opened July 6, with tutoring enrollment opening August 12.
When do live classes and tutoring begin? Live classes begin August 24, and tutoring begins August 31.
Do I need to attend orientation if I already know my schedule? Yes. Orientation on August 18 covers important logistics and details about live classes that are helpful even for families who feel fully prepared.
How do I finalize enrollment in a class? Enrollment is completed through the Blue Ridge Procurify ordering system after selecting your student’s classes.